The entry-level survival course I designed for Fieldcraft Survival is Modern Survival Skills. This 8-hour course will complement any level, and one of the objectives it delivers each class is how capable a person can be in the great outdoors with just a handful of kit items. I wanted the packing list to be short, inexpensive, and easy to obtain. Students have shown up with budget-friendly items up to the most high-end custom equipment. Regardless of how much was spent outfitting the student, they all realize there is a delicate balance between gear and skills, and the more they learn, the less they have to carry. As instructors, we must demonstrate this principle in our practice. Since joining Fieldcraft Survival in January 2021, my instructor kit hasn’t changed much. Sure, I’ve had some great gear come across my desk, but I’ve turned a lot down and returned to my old reliable loadout if that new gear doesn’t offer any increased benefit. Students always ask about what I’m carrying, and to their surprise, it doesn’t vary much from what they have. What does differ is the amount of wear on my kit and the miles I’ve put on it. For this week’s blog, I want to highlight my gear, complete with scratches, stains, and character marks earned with each MSS course taught.
Knife
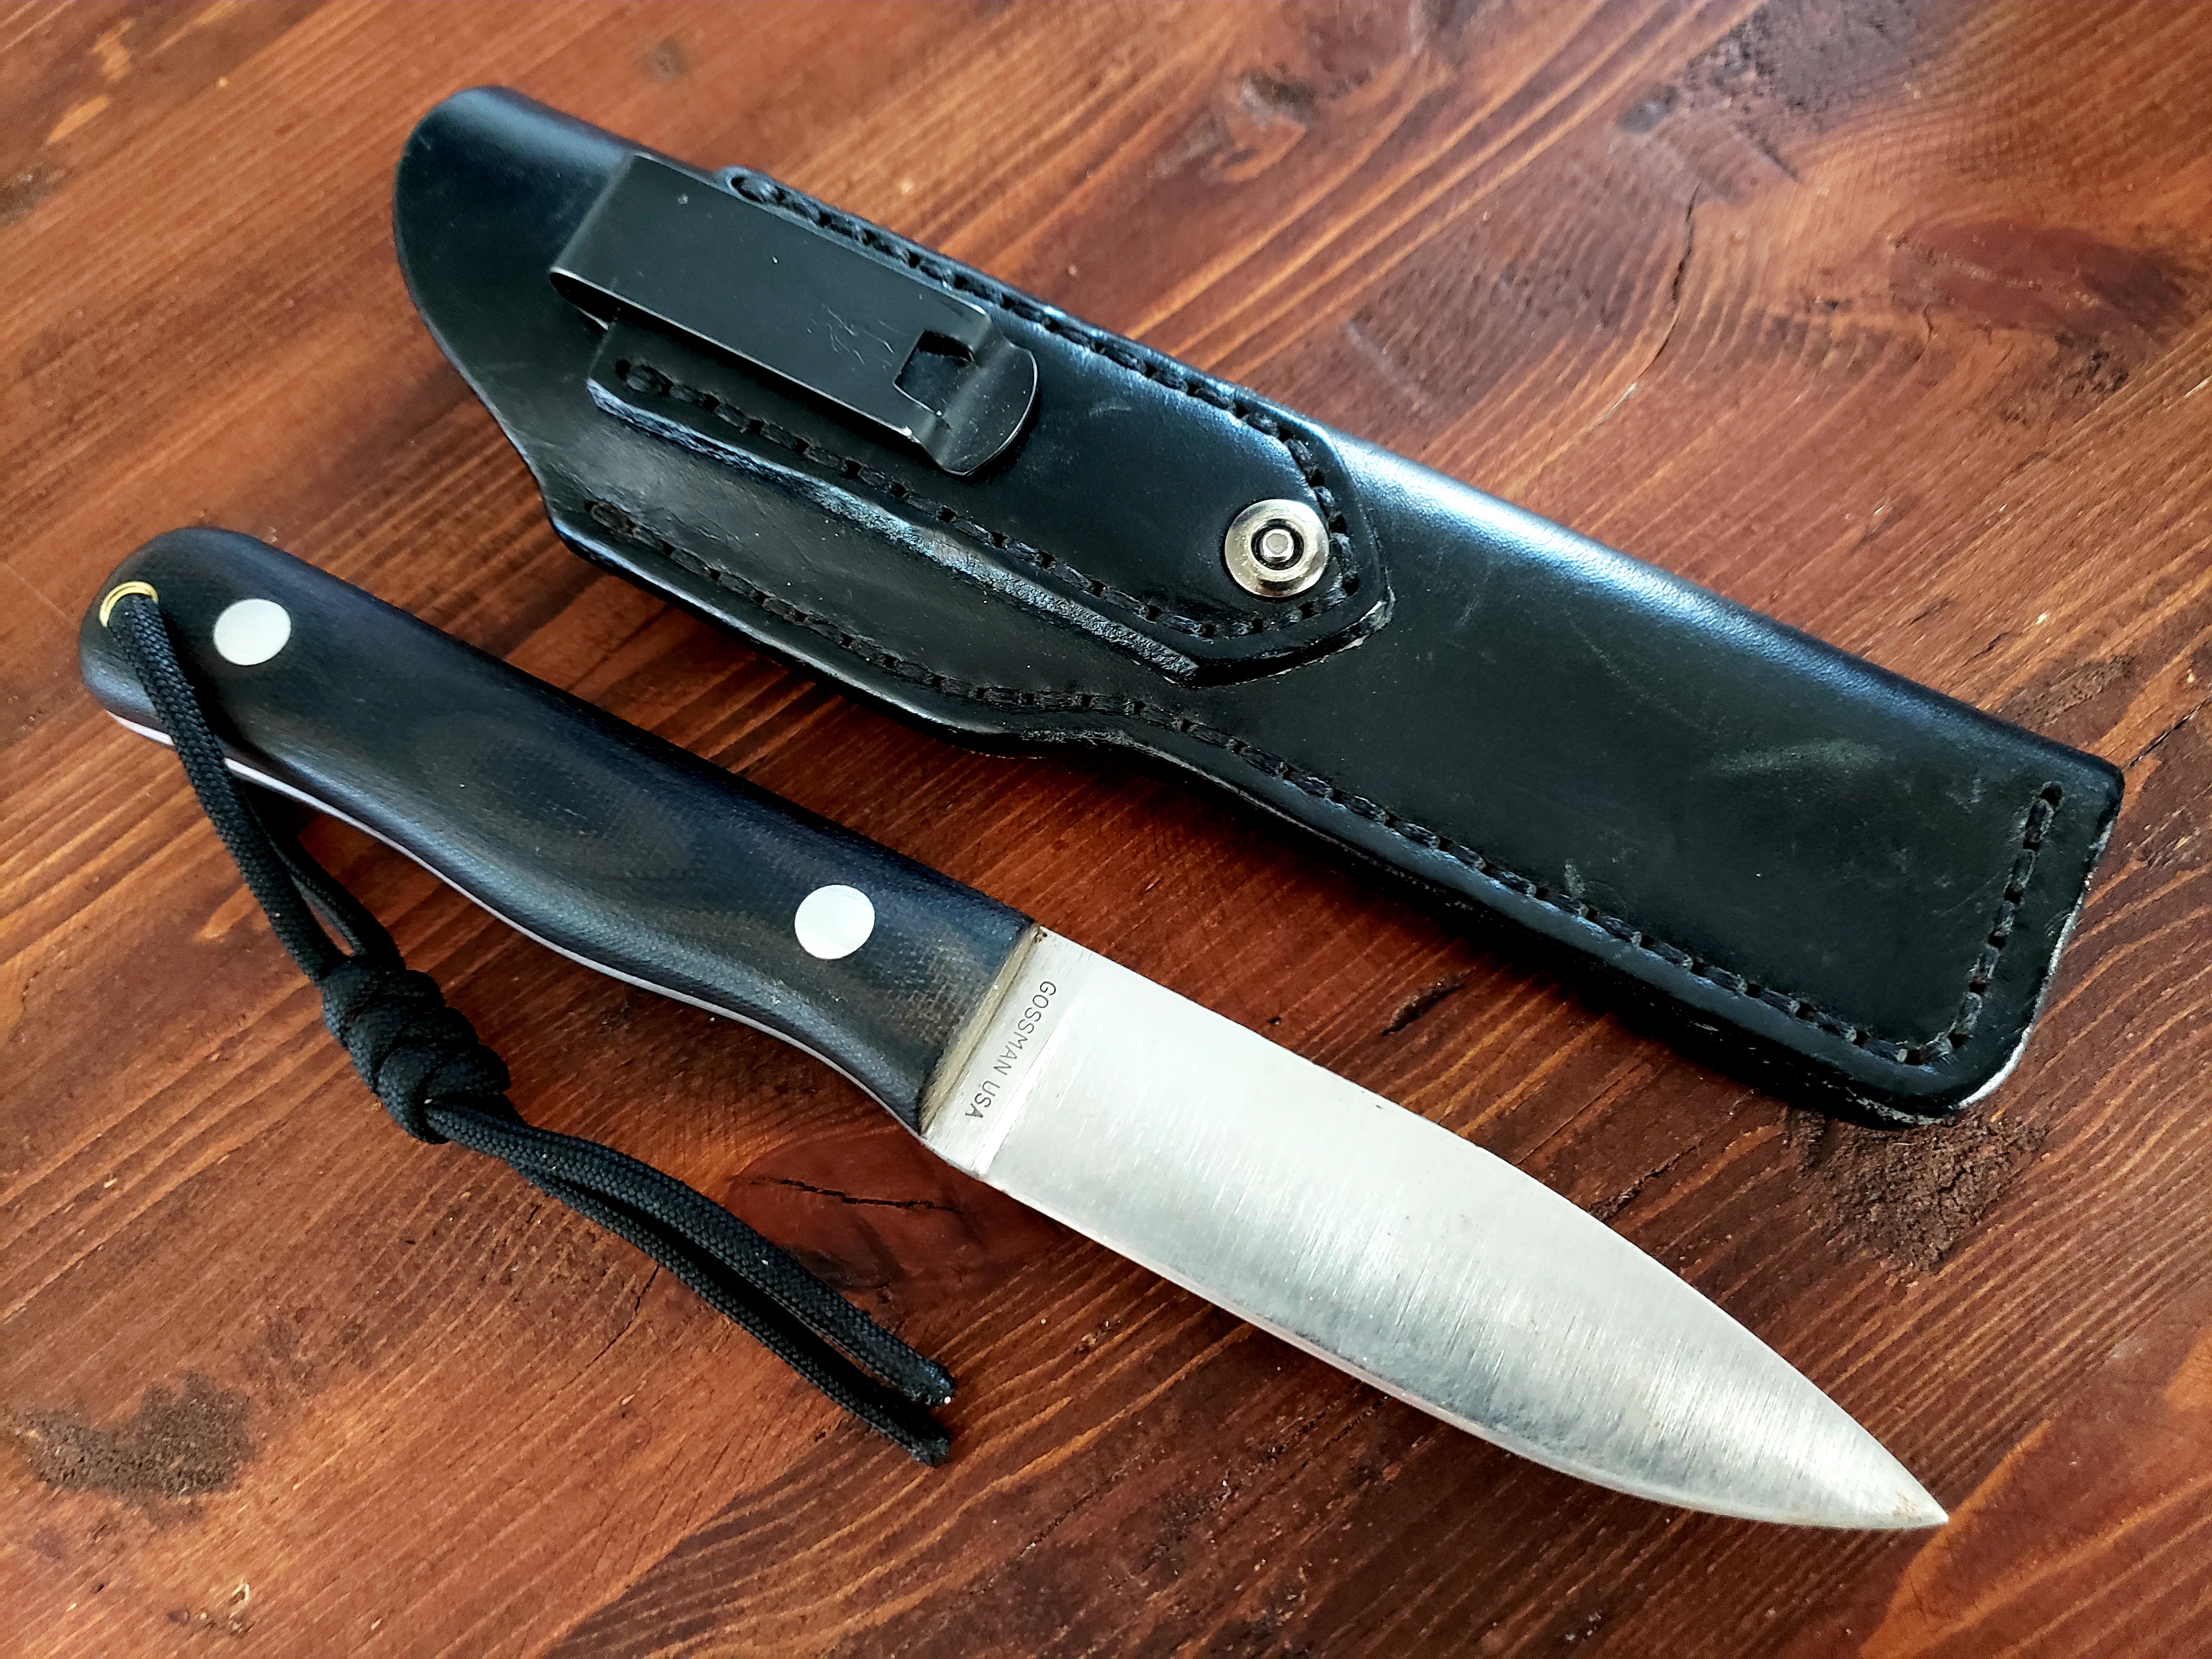
After a brief mindset talk and a group walk-around to look at individual kits, students jump right into developing knife skills. The knife is essential to your daily carry and a tool you should always leave home with. I’ve carried a Gossman Knives Polaris since 2010, and though difficult to obtain, it is one of the most rigid knives built. I’m willing to use that knife hard in front of a class with full confidence in its strength. I can’t say the same for flimsier and less substantial designs .I still own the A2 steel prototype and the 4V upgrade, but I’ve been using a S45VN stainless version for wet weather, and a Magnacut version has become my new standard. The Polaris is carried in a custom leather sheath I made (you may not know I’m a leatherworker), and it rides either on my belt or my Kifaru Koala chest rig. Plenty of knives have been offered to me to use, but the Polaris will always be my baby.
Firestarter
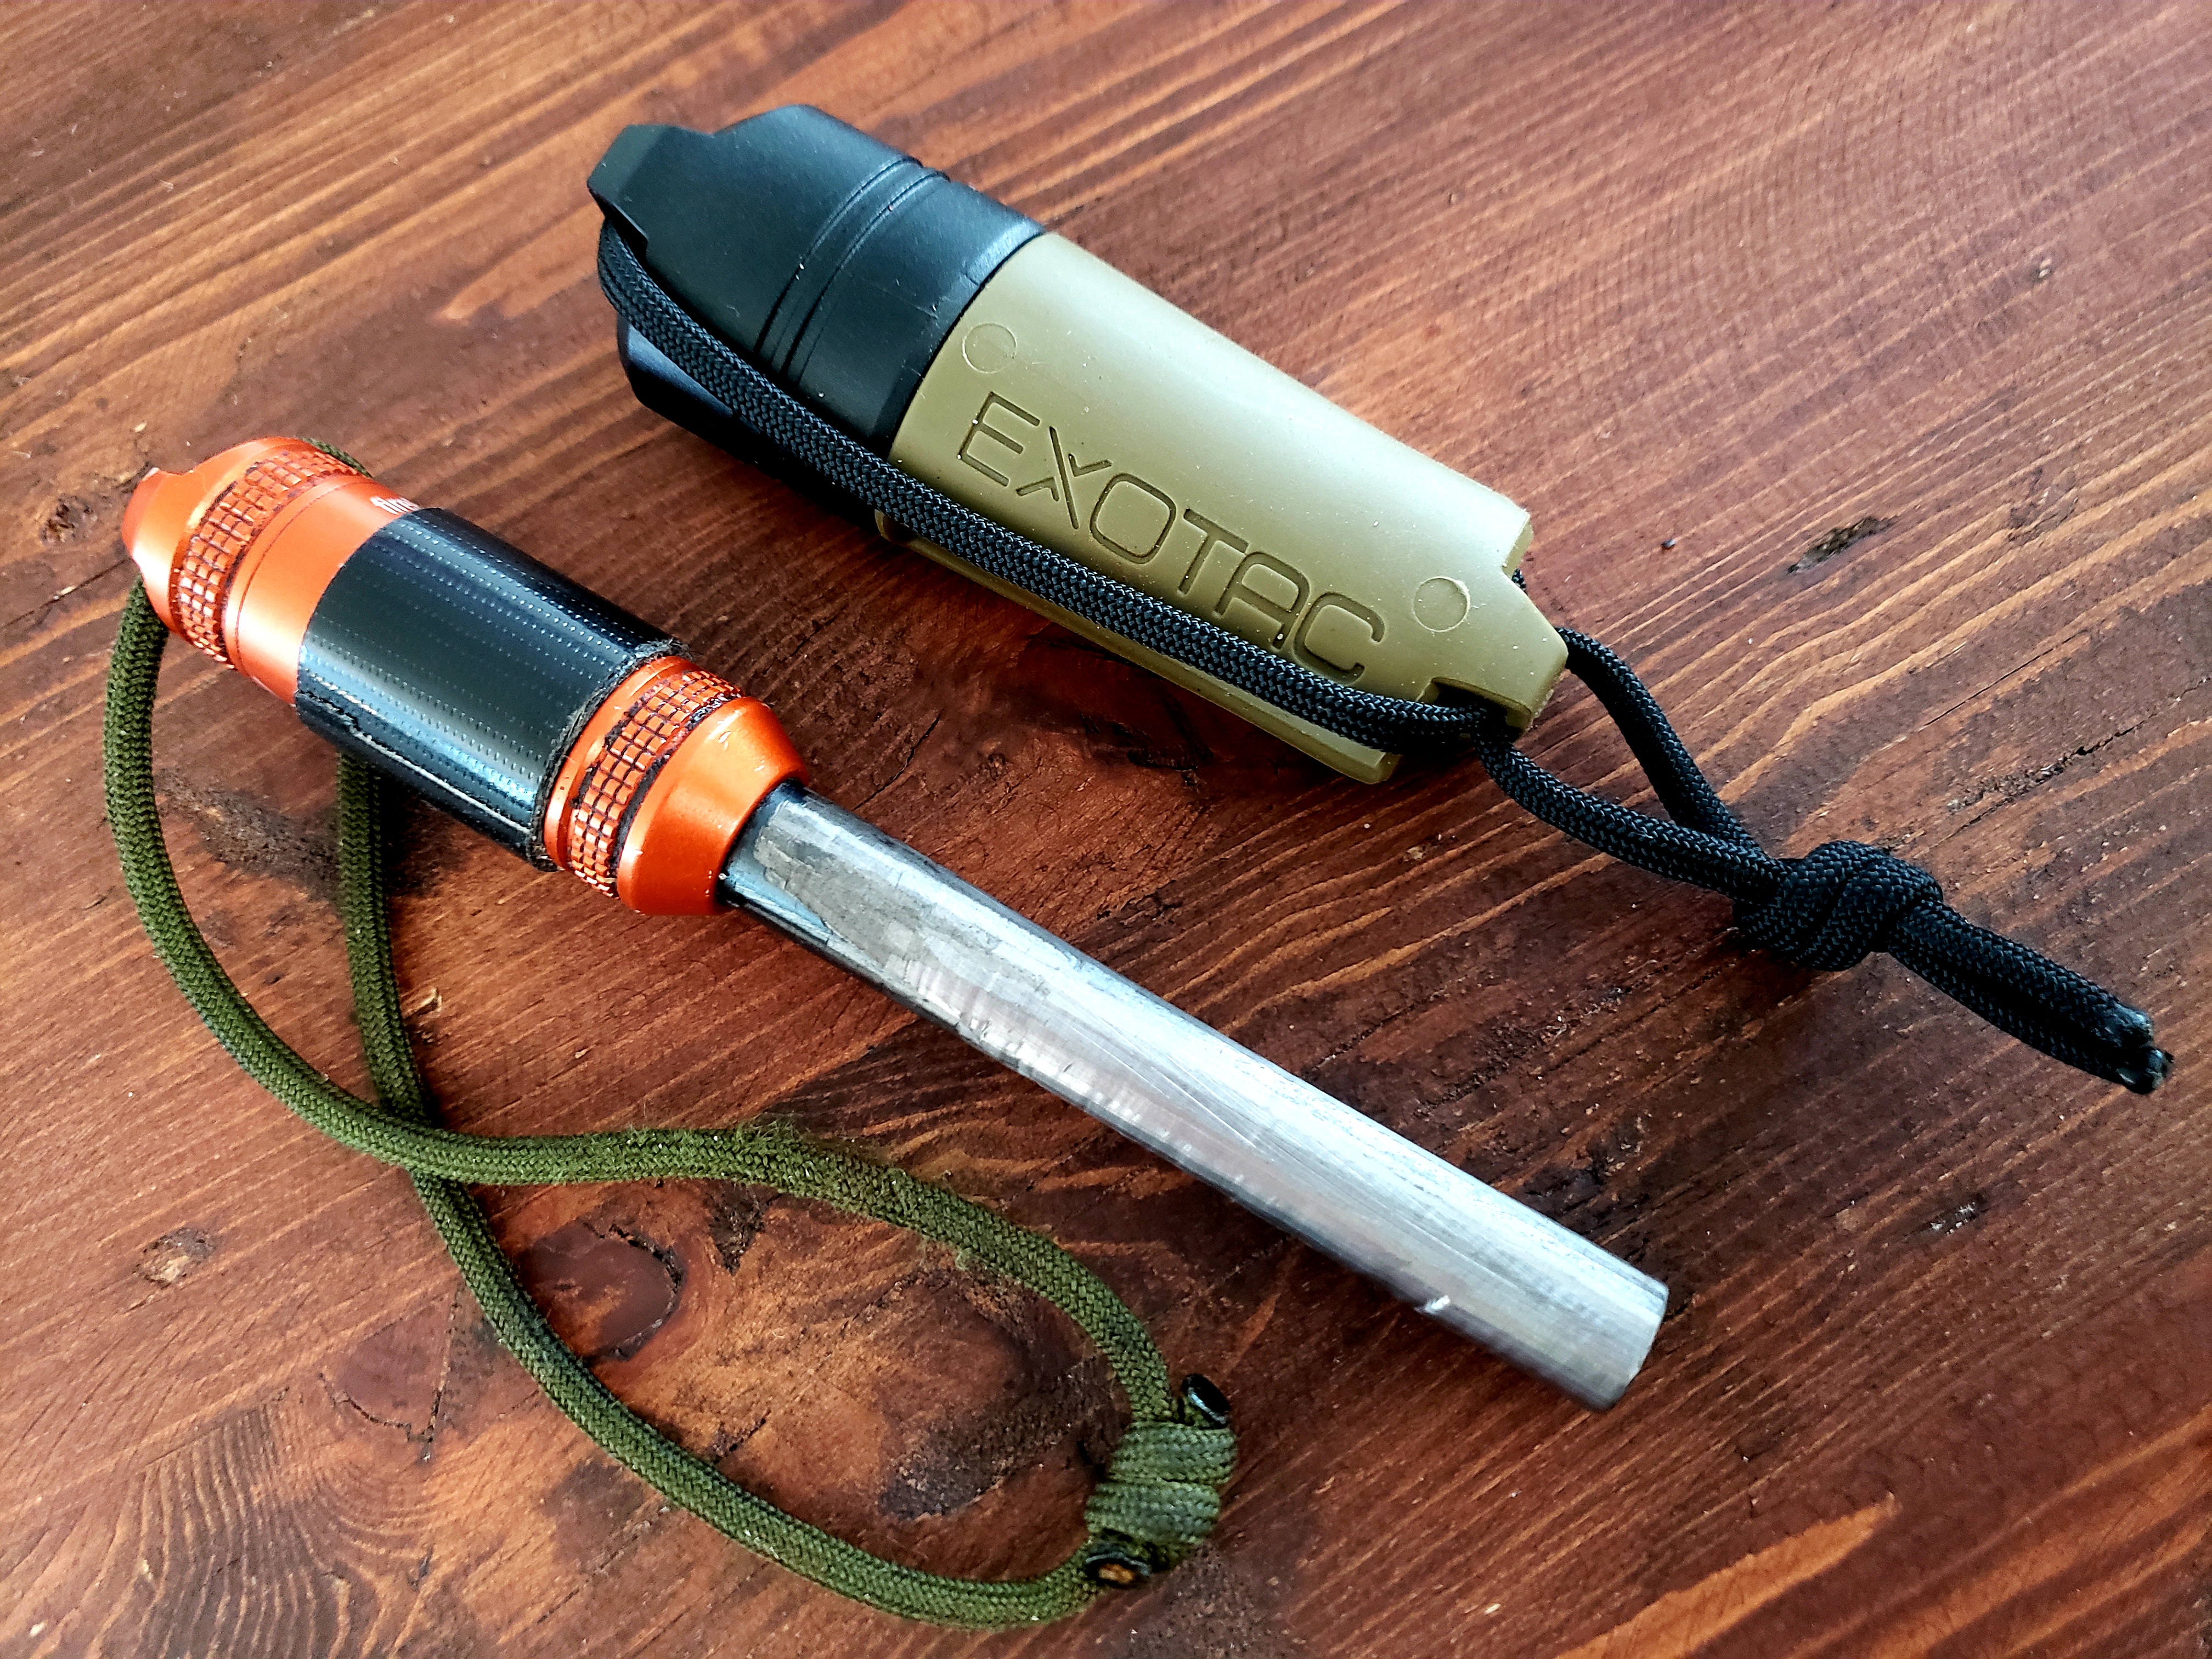
Students are required to bring a ⅜” ferro rod with them, and we recommend those from EXOTAC. For teaching and performing demonstrations, I use the XL version of their FireROD. This ½” beast has been going strong, and the deep depression in the rod and the scratches in the handle show how it has been well-loved. The larger the diameter of the rod, the more sparks it will generate. When a student struggles with a smaller fire starter, I hand them mine. While not as practical for EDC, I want a student to succeed with a larger rod first, and then they can work back to a smaller tool for practicality. We also work with lighters and bicycle innertubes, and I house my lighter in an EXOTAC firesleeve. New for this year is an Estela Signature Green fire sleeve that will help benefit the charity fund I established in my hometown for underprivileged kids.
Paracord
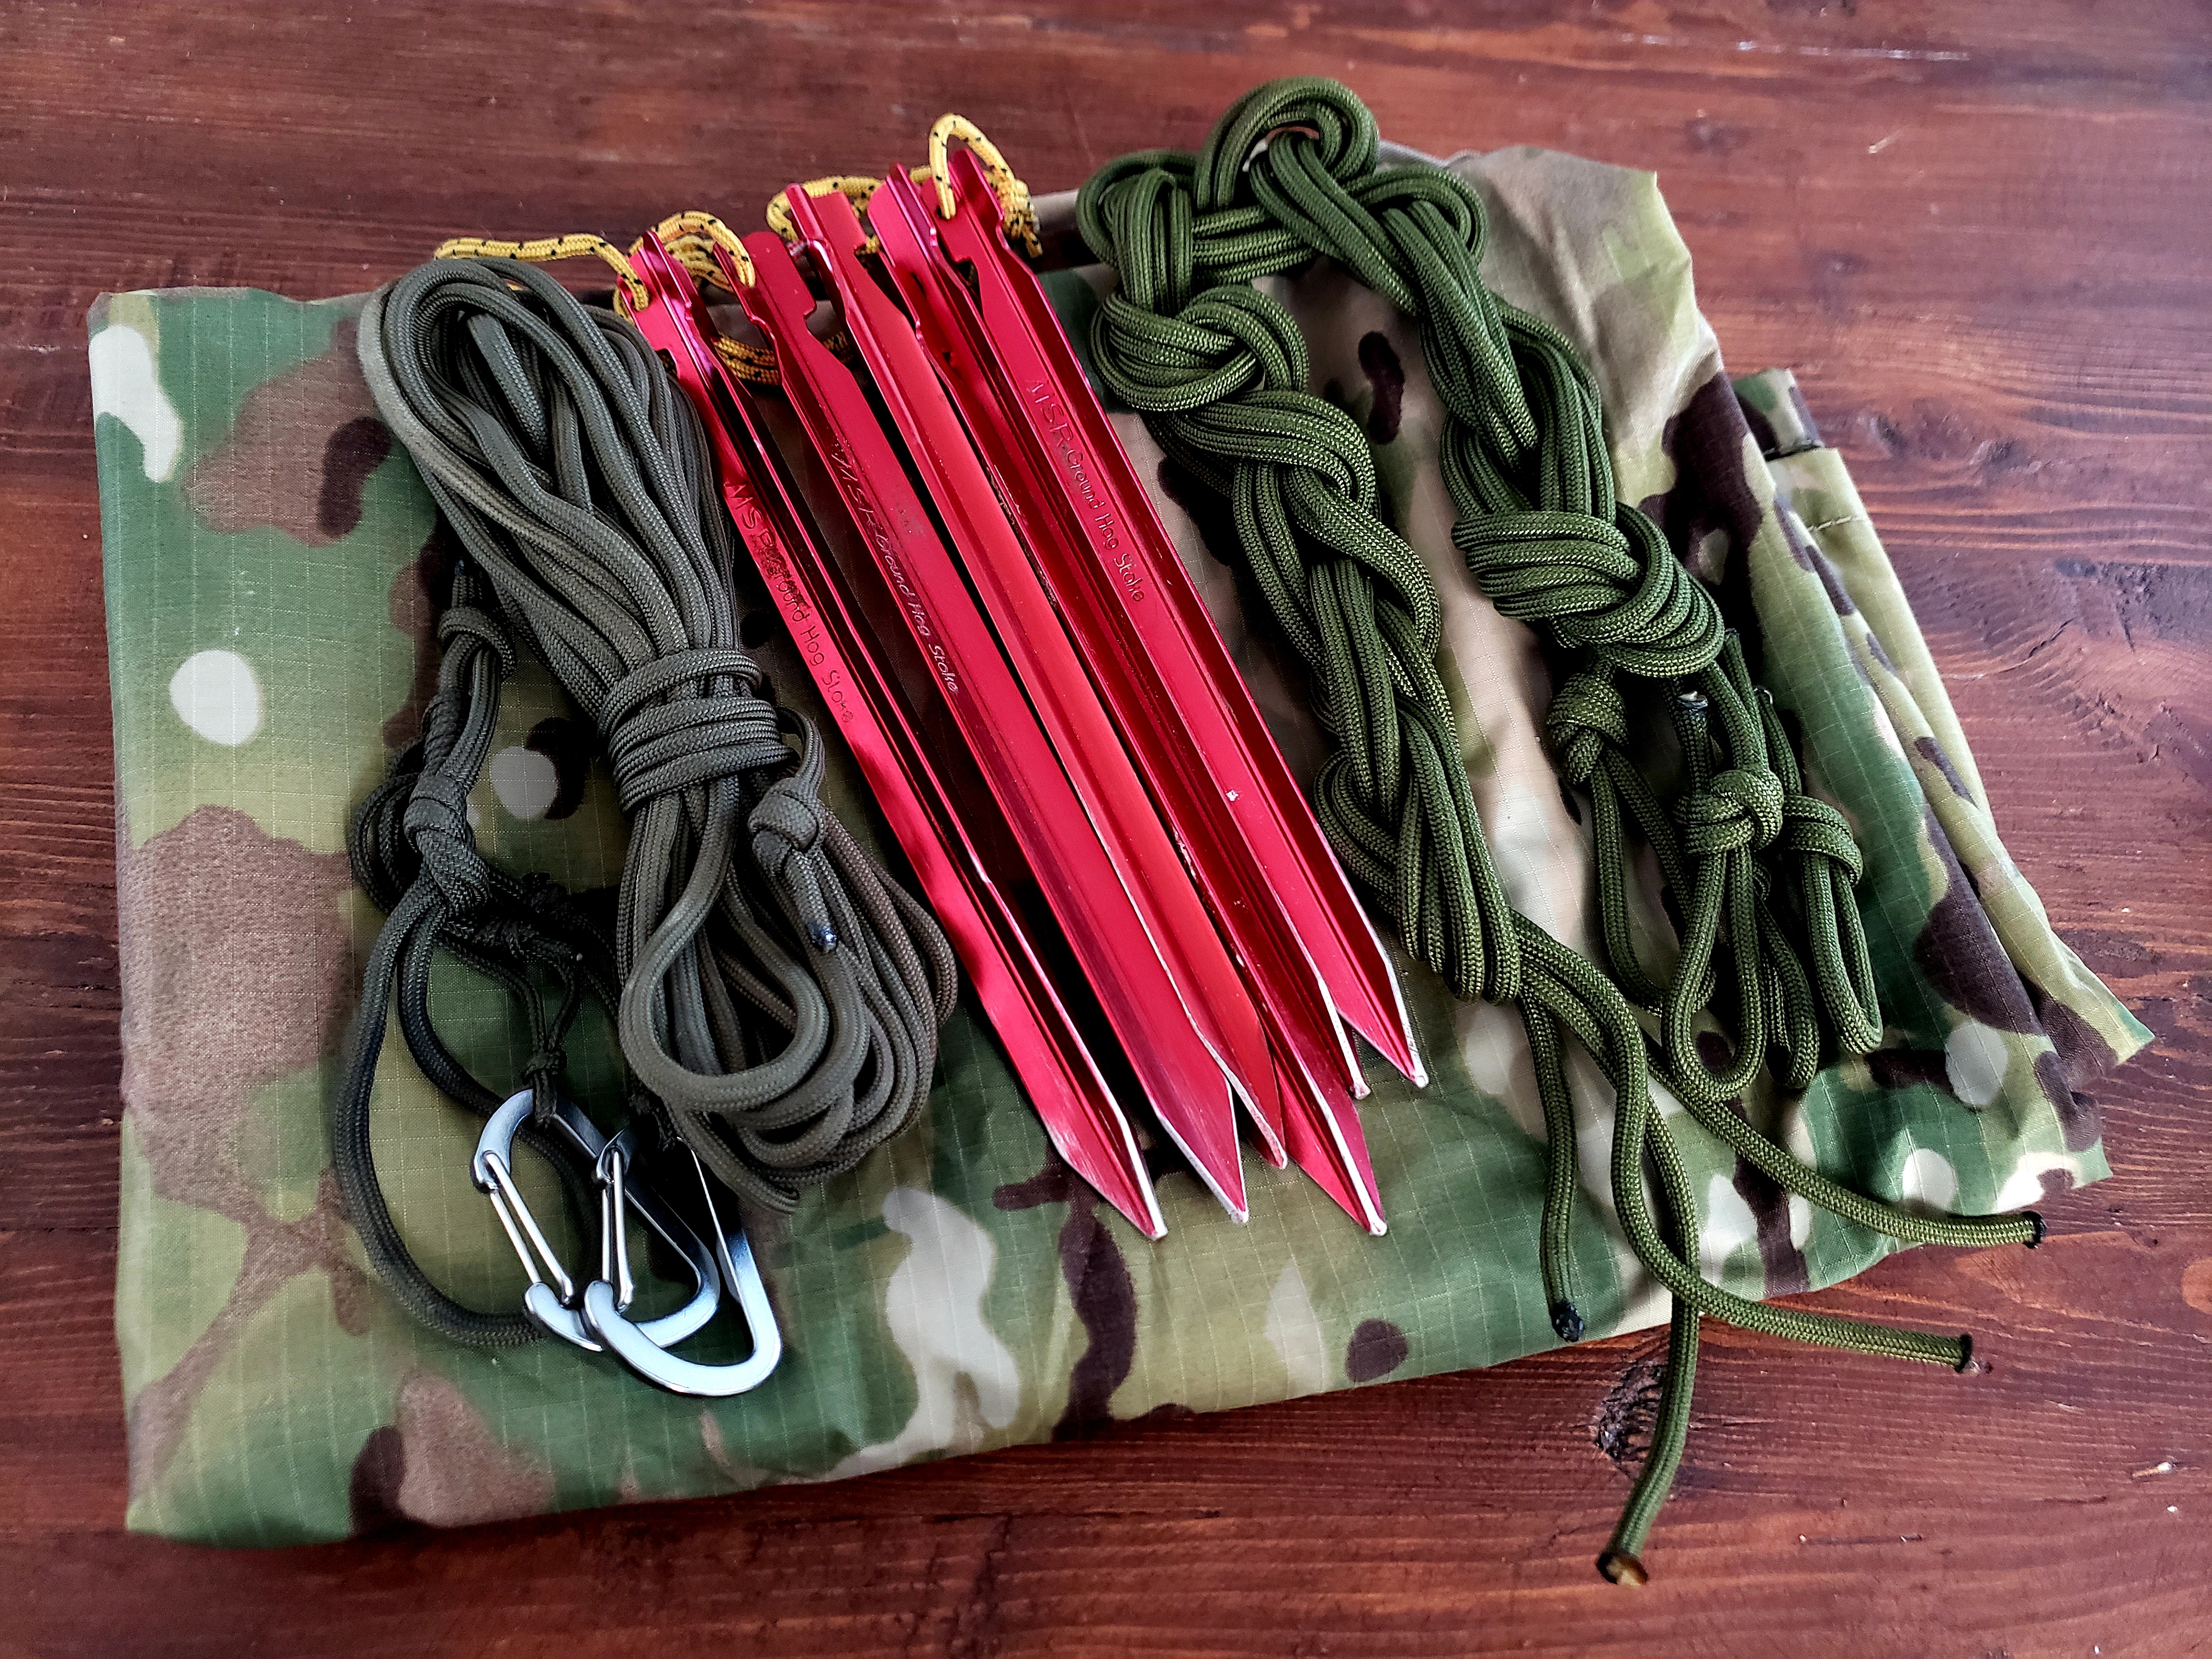
We use paracord for various tasks in the modern survival skills class. Students learn to tie knots with it, they build shelters, and they often pull it out of their kit to complete the culminating challenge at the end of the day. I carry a good amount of paracord in addition to my larger demonstration ropes to help the students see the knots I’m tying. When I carry paracord, I start with a 100’ length. I usually keep one 50’ length and cut the other in half. That leaves me with a 50’ and two 25’s. From there, I continue to cut it down in half to what I need and I use these halved lengths for different purposes. 6’3” and 12’6” don’t sound like standard lengths since they have what seems to be an extra 3” and 6” respectively. However, I like keeping things simple and cutting lines in half gets me to these unorthodox lengths that have become standard for me over the years.
Water Bottle with Nesting Cup
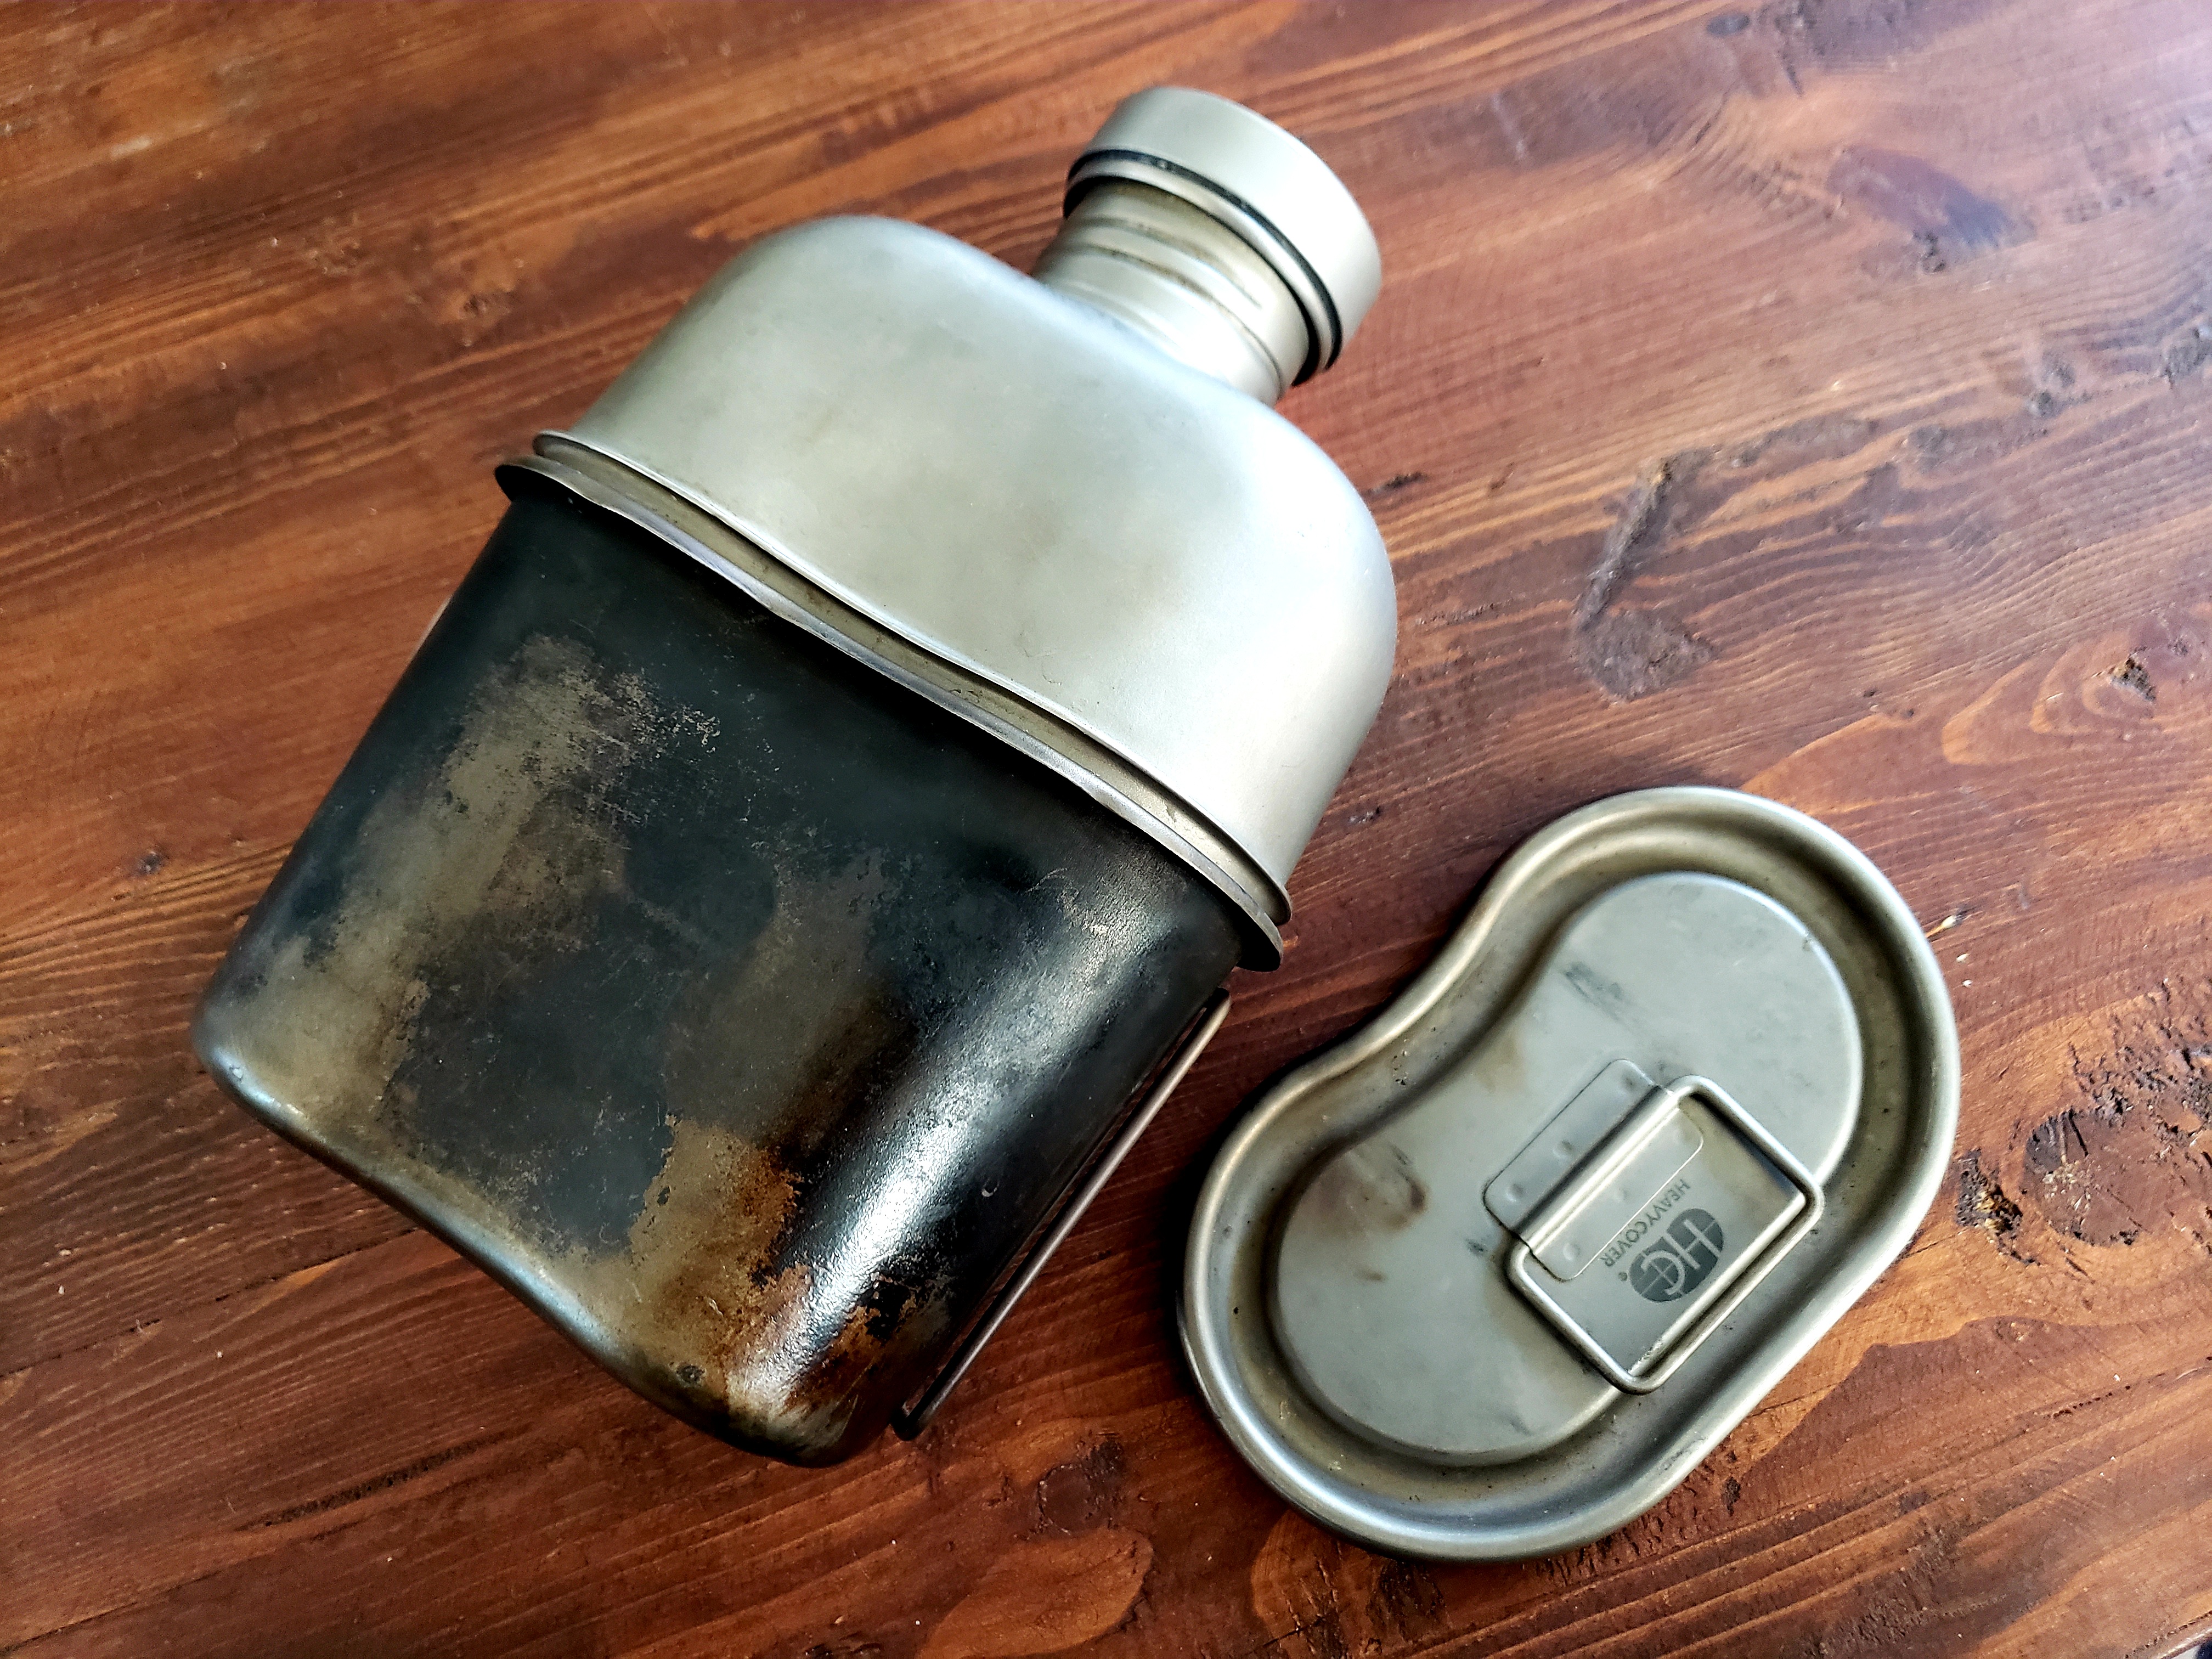
My standard canteen is the Titanium Heavy Cover Canteen Kit. I’ve carried this canteen all over creation, and while expensive, it is worth every penny. Your canteen is a personal item you probably wouldn’t want to lend out much like your vehicle, toothbrush, or sleeping bag. My canteen bears the marks of boiling in a fire, and the “Estela” in Sharpie marker is hardly noticeable, but it is there to help distinguish mine from the canteens my guys also carry. The game changer for me is the metal cup with a lid, as it helps boil water faster than an open container. Inspired by my mentor, I built a kit around my canteen since I’m a water hog and drink a lot of it. In cooler weather, I’ll swap the carrier for an old insulated pouch from Outdoor Research, and I’ll also swap the lid for an easier-to-twist polymer top. Besides the occasional environmental swap, my canteen is a staple in my loadout.
Tarp
Part of the Modern Survival Skills Course is using a tarp to construct an emergency shelter. With the right gear and the skills to back it up, I show students how to pitch a tarp in a minute to a minute and a half. My basic demonstration tarp has been a M.E.S.T. from Bushcraft Outfitters for years. At only 5’x8’ and 13 ounces, it fits in a cargo pocket if necessary, and with a small length of cord and some tent stakes, the overall weight is negligible. This tarp has been used to build poncho rafts, the Nammy shelter, low-hanging A-frames, and lean-tos for dozens of classes. When I have a larger class, I break out a 10’x10’ tarp from Litefighter called the Commando Tarp. That tarp has been going strong for about 18 months now, and the extra living space is incredible and worth the additional cost. Tarps range in price, quality, size, construction, and design features, but at the end of the day, they are flexible utility tools students will benefit from.
Miscellaneous
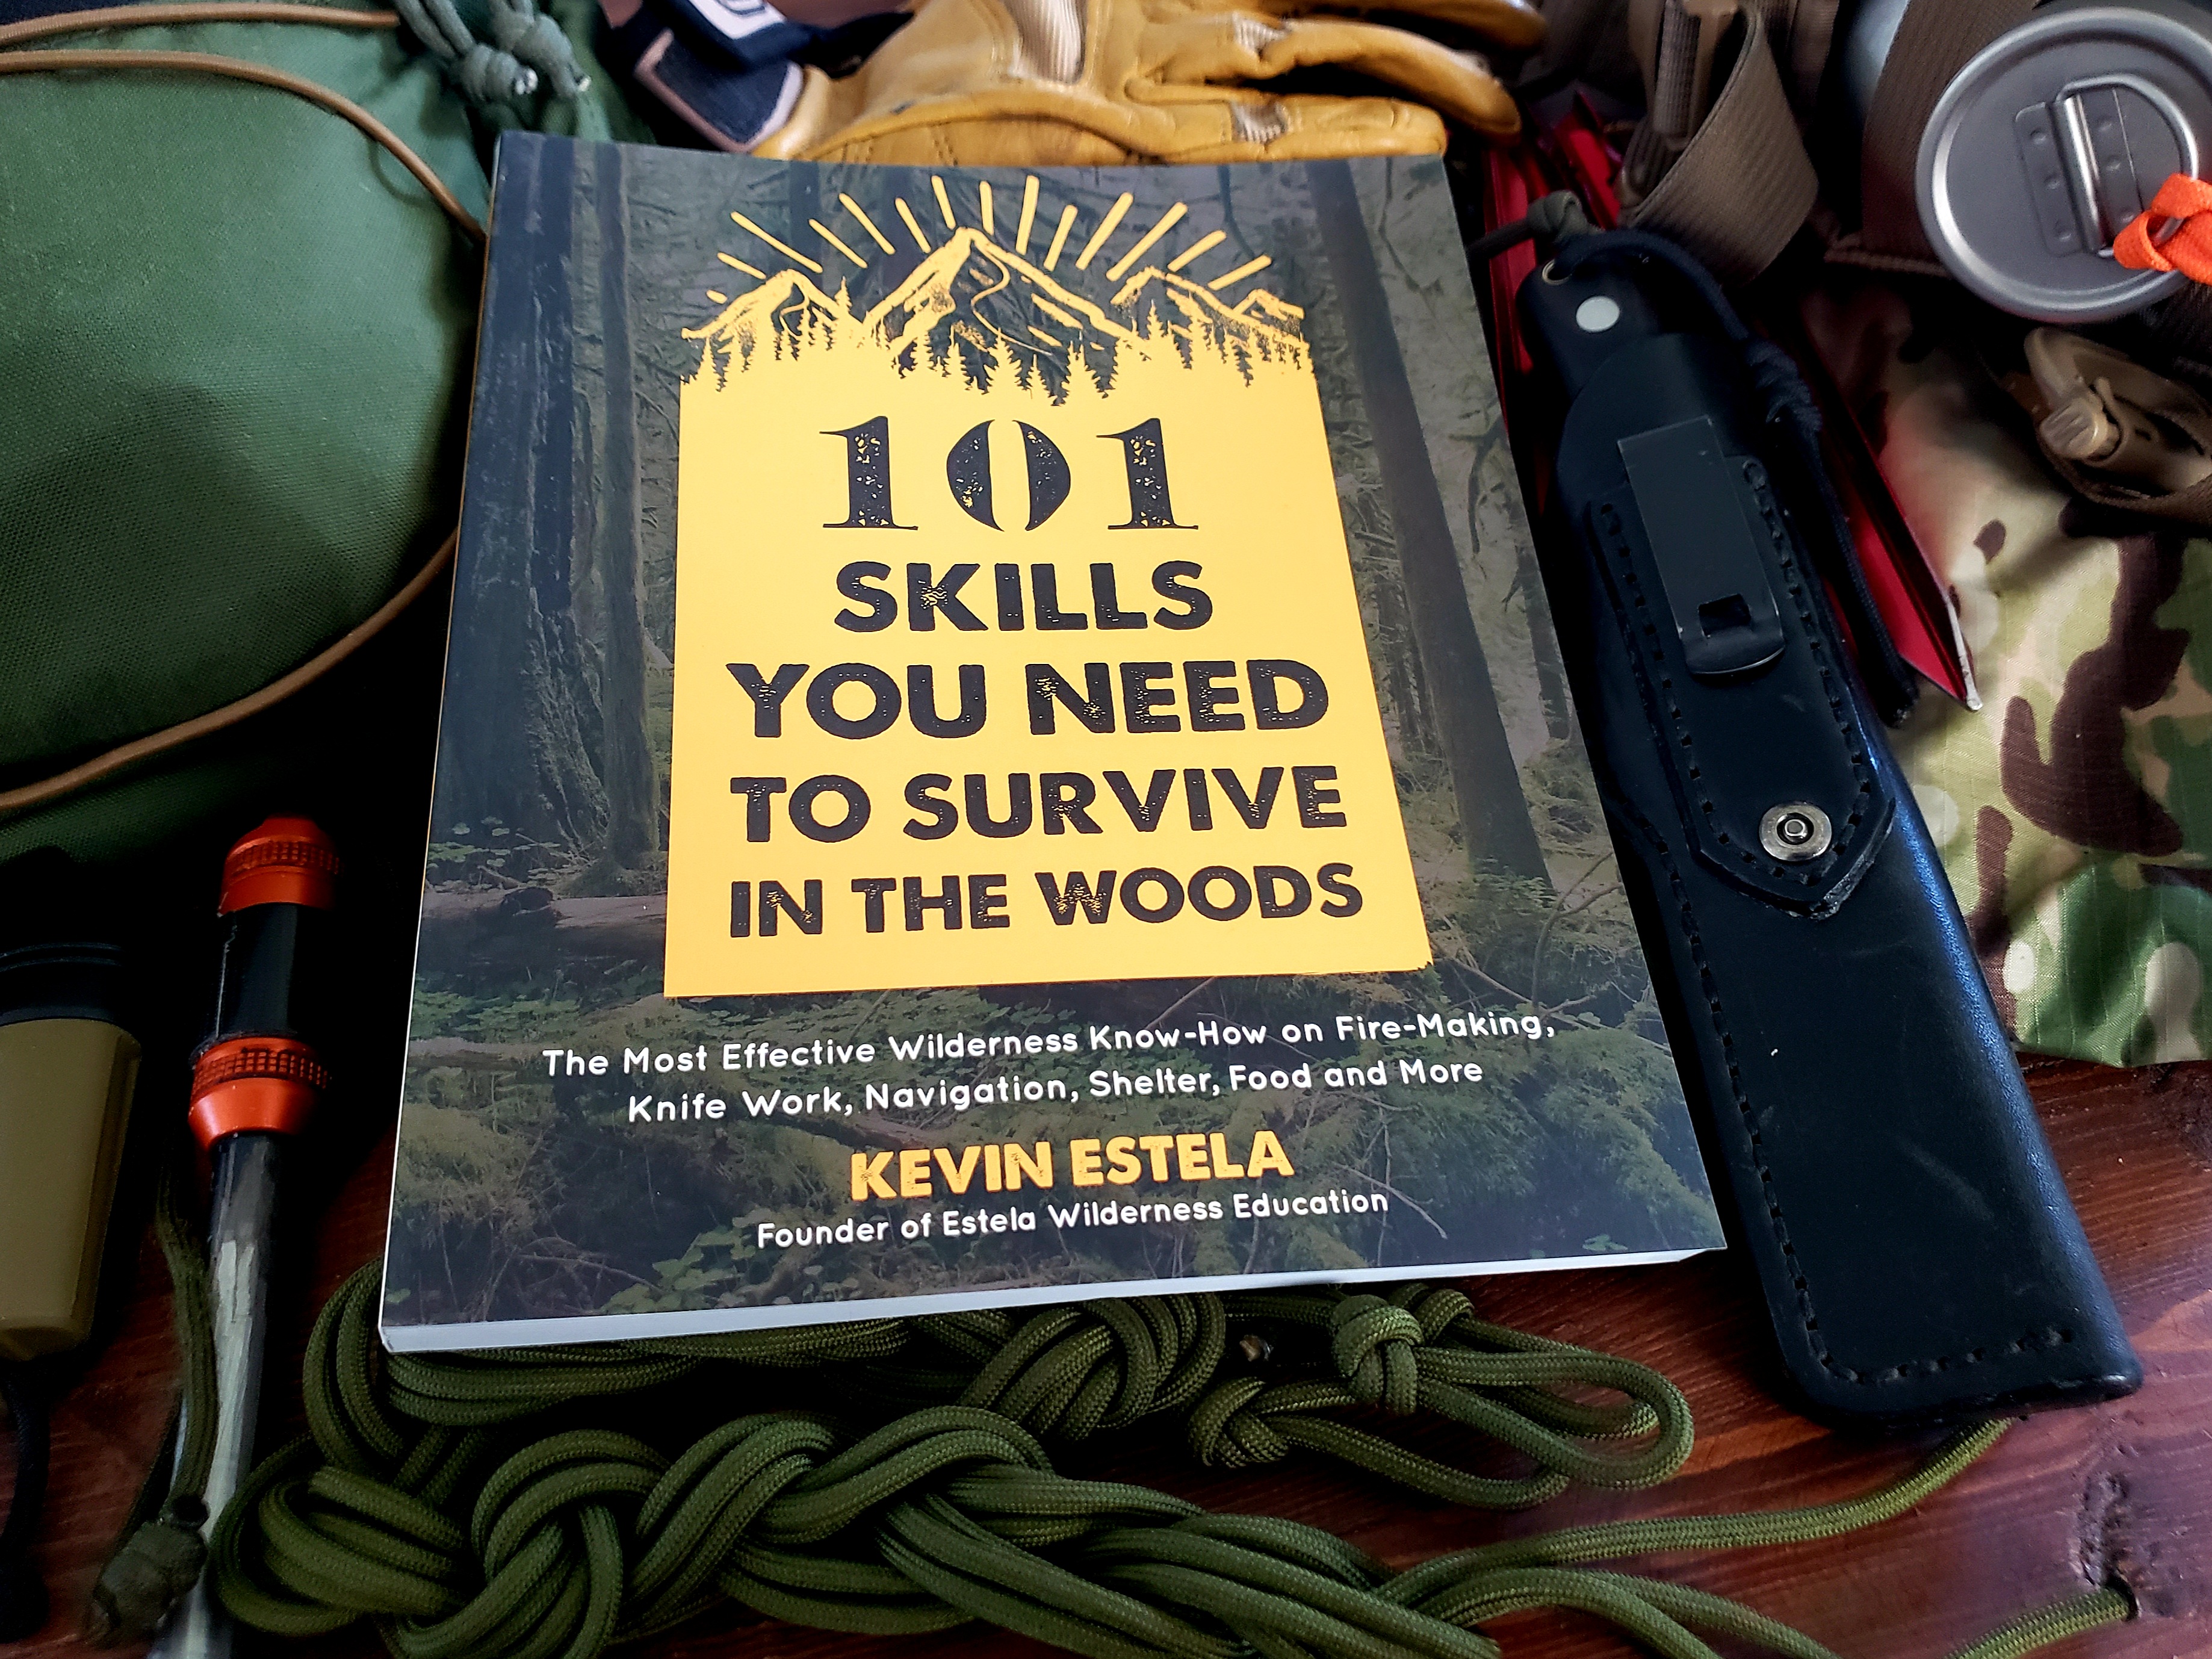
Rounding out what I carry on courses are some items that make sense from an instructor’s standpoint. I carry a set of Petzl gloves because they help when we are working with wood around the campfire and clearing debris. Since cuts to the fingers and palms are common, I have a dedicated boo-boo kit that has Sesame Street bandages for the “First Blood” winner. My book, 101 Skills You Need To Survive in the Woods, has become the course manual, and even though I wrote the book, I have a copy of it as a supplement to point out to the students where they can read up on the skills they learned and see them in the pages. Like the students, I pack a lunch that is typically trail mix or a snack bar and usually some easy-to-pack food like a sammie. As any student will tell you, I am usually caffeinated during courses, and coffee is my constant companion.
The gear I shared in this blog is not the gear you should go out and buy unless you determine it works for you. You need to decide what is right for you, and you shouldn’t rely on online personas to dictate what shoe fits best on your foot based on their preferences. Spend time in the woods and train. Let your training help you decide what you’ll carry and prefer. Take your gear to the outdoor lab and test it. You may have some fun in the process.