Ten Lessons Learned from Fieldcraft Survival's Performance Carbine Course
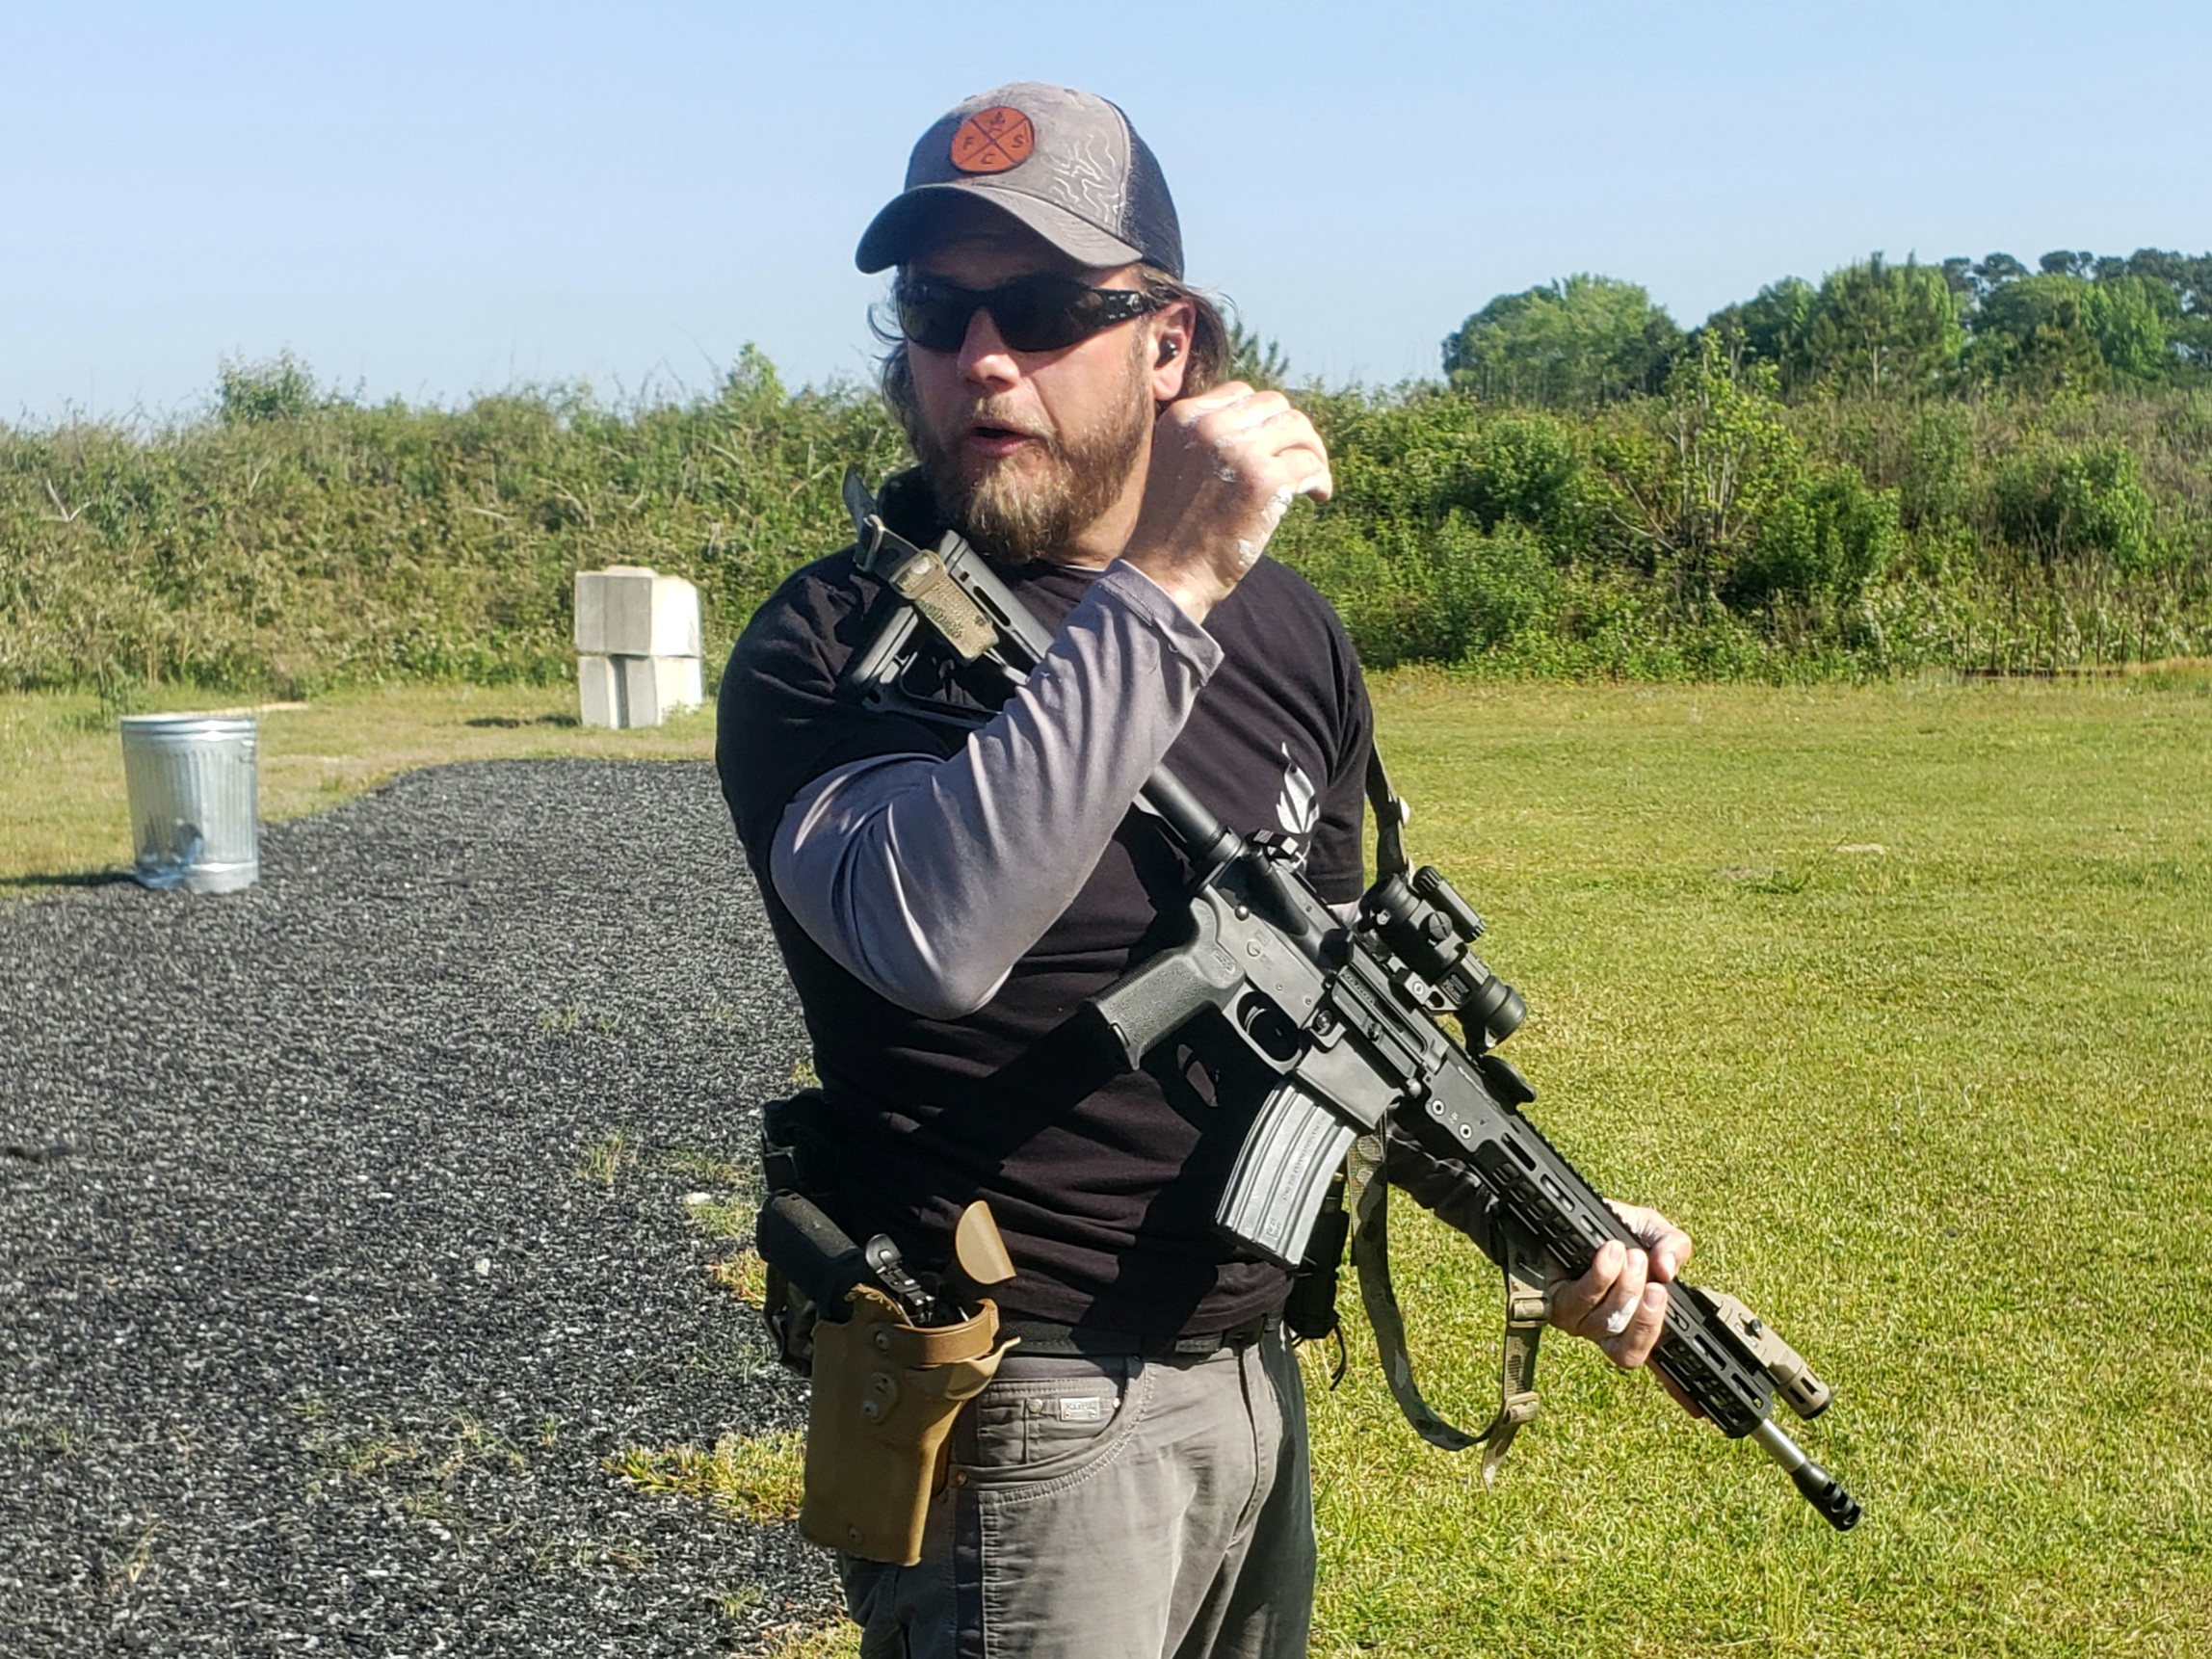
Earlier this year, I had the opportunity to audit Fieldcraft Survival’s Basic Pistol course taught by my friend Rick Lofton. An after-action review of that course became the subject of a blog here that many reached out to me about. Based on the number of reader responses received, it made sense for me to drop into another class. This time around, I grabbed my Geissele and joined the firing line at Performance Carbine. This course is the third level that follows Basic and Defensive Carbine. It was my intention going into the course to track “a ha” moments or takeaways and, as always, Rick didn’t disappoint. Here are 10 of the many lightbulbs that went off for students during the course.
1. Quick Bore Site
An optic was brought to the class that wasn’t zeroed on the rifle it was mounted to. Using a technique from the precision rifle world, Rick took the upper off the lower of an AR and positioned it on one of the range tables. With a clear view through the bore and with the Aimpoint’s dot on the target, an expedient zero was established.

2. Not Enough Civilians Train the Prone
One of the first drills students were given was to drop to the prone and fire 5 shots in a given time standard. Those with precision rifle backgrounds rested the rifle on the magazine, splayed out their legs with their heels down, and found good cheek welds. Getting in and out of prone isn’t easy for those with mobility issues but it is a vital skill that should be trained.
3. No Need to Give the Magazine an Extra Tug
Rick made it a point to demonstrate everything and establish a realistic time standard for everyone. During one of his loading procedures, he explained how a well-seated magazine with a push and a pull doesn’t require an extra tap or a press check. He went on to state press checks with ARs tend to induce malfunctions. This class was about performance and adding extra steps to a reloading procedure will increase the transition time from unloaded to loaded.
4. 1-2-3-4 is better than 2 double taps
During a transition drill where students worked left to right strings and low and high strings, I was given a pro tip to avoid two double taps or two controlled pairs and fire a 1-2-3-4 tempo. The 1-2-3-4 string of fire ultimately was faster than the two controlled pairs. Getting used to moving your eyes, then your rifle, while maintaining the splits took some time to get used to but it is now preferred.
5. Accept the Dot and an Acceptable Sight Picture
When moving from one target to another and firing multiple strings, it became apparent to many of the students that an acceptable sight picture was better for drills than letting the dot settle and the clock continue on. The dot will continue to move until you apply a good trigger press and send the next round. This concept was difficult for some but it was applied well and by the end of the course, all students target focused and let the dot move the way it does.
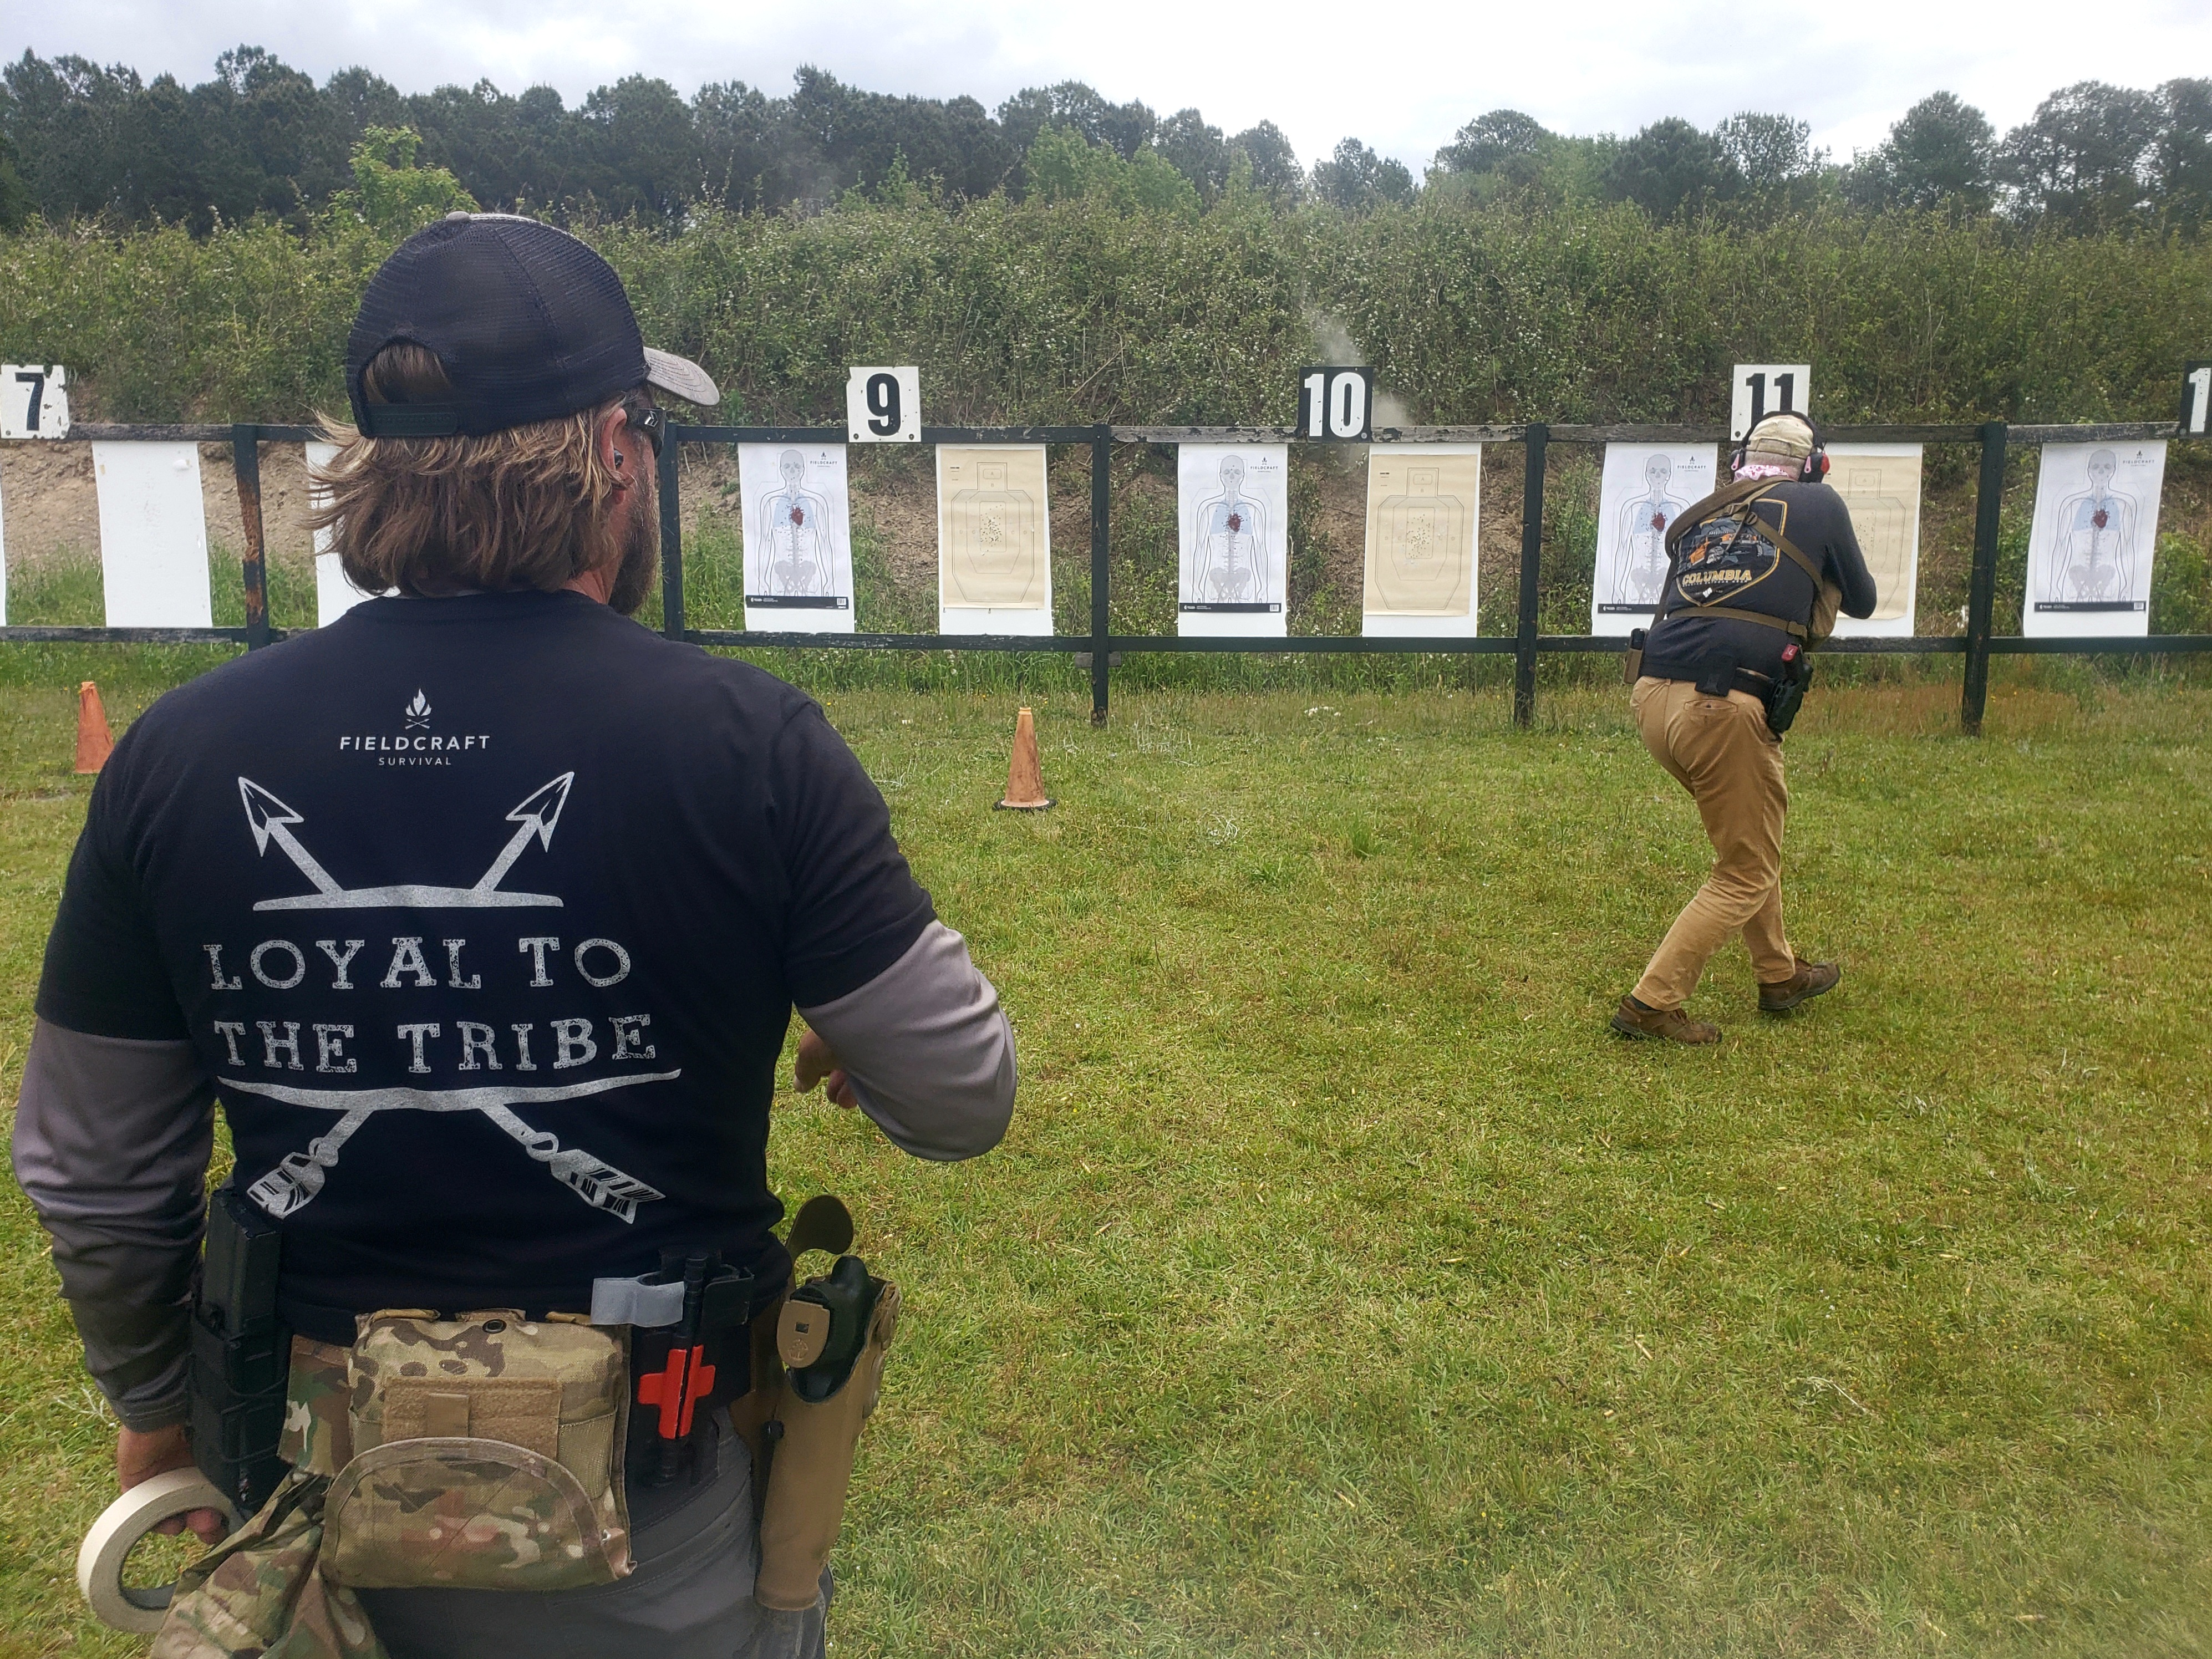
6. Up Drills (Focus on the A)
During up drills, students were put on the clock to put one round in the A zone at the beep from 10 yards. Rick singled me out for consistency with good hits of .49 seconds two or three times in a row. When asked how to get on target faster, I responded “I stared at the letter “A” on the target and when the glint from the dot crossed it, I pressed the trigger.” The hard focus on the target is essential as is focusing on a small section of the target and manipulating that safety and having a smooth trigger press.
7. 6 Round Drills vs Controlled Pairs and Controlled Triples
Rick wanted to impress upon us the balance of speed, accuracy, distance to target, and recoil mitigation. We performed 6 round drills on the clock. Spits varied and I was pleased personally with .15s. I wasn’t the only student who was happy to see their rounds staying tight in the A zone with the occasional C flier. The drill helped students identify where they needed to place the buttstock of the rifle and they could experiment with riding it higher on the collarbone and closer to the center of the chest for the best recoil mitigation and control.
8. 31 Rounds in a PMAG
Back when I trained at the SIG Academy frequently, I knew the “dead man’s gong” all too well. Among other reasons, if you failed to seat a magazine properly and let it fall to the deck, you would have to run to the cut acetylene tank gong and hit it with a hammer while yelling “dead man’s gun”. A lesson I’ll never forget that I was happy to share was the 31 rounds in a PMAG. One of the guys in the class lost count of how many rounds he loaded and had a reloading problem when the 31-round mag fought against the bolt. Rick pointed out how the 30th round should be on the top right and there should be about a cartridge-worth amount of play against the magazine spring. This student was joined by another in the class later on.
9. Load the Front Leg Walking Backwards
Part of Performance Carbine is movement while shooting. Walking backward can be difficult as your path may be littered with debris making for an unstable footstep. Rick explained a pro-tip which involves using a weighted front leg for stepping backwards. At any point, if the shooter experienced imbalance, they should be able to pick up their leg with the weight on their front.
10. Muzzle Brakes vs. Suppressors
This tip is more universally appreciated across all levels and isn’t exclusive to performance carbine. Muzzle brakes excel at limiting muzzle rise but at the expense of sending a percussive overpressure blast to your neighbor on the firing line. Mount one on your rifle if you want but know you’ll be “that guy”. Suppressors are the sophisticated and refined way to shoot but they become too hot to handle after rapid fire. Never forget that and have a plan to handle that heat when it comes time to remove them.
Look for more courses taught by Rick and the cadre of Fieldcraft Survival instructors online at fieldcraftsurvival.com.